Hi there ! Here I am going to do a brief recap of some material assets made available by me on my Market Place over the last months. I will pick some of them and highlight some characteristics and how they were been used around.
Your support , following, spreading, reviewing and acquiring those assets, makes me keep doing it and improving myself and my assets. I usually revisit my products and add fixes and new functionalities overtime (without extra cost).
I still have a LOT to share and I can only say Thank YOU for all your support acquiring, using and reviewing my assets.
=========================================================================================================
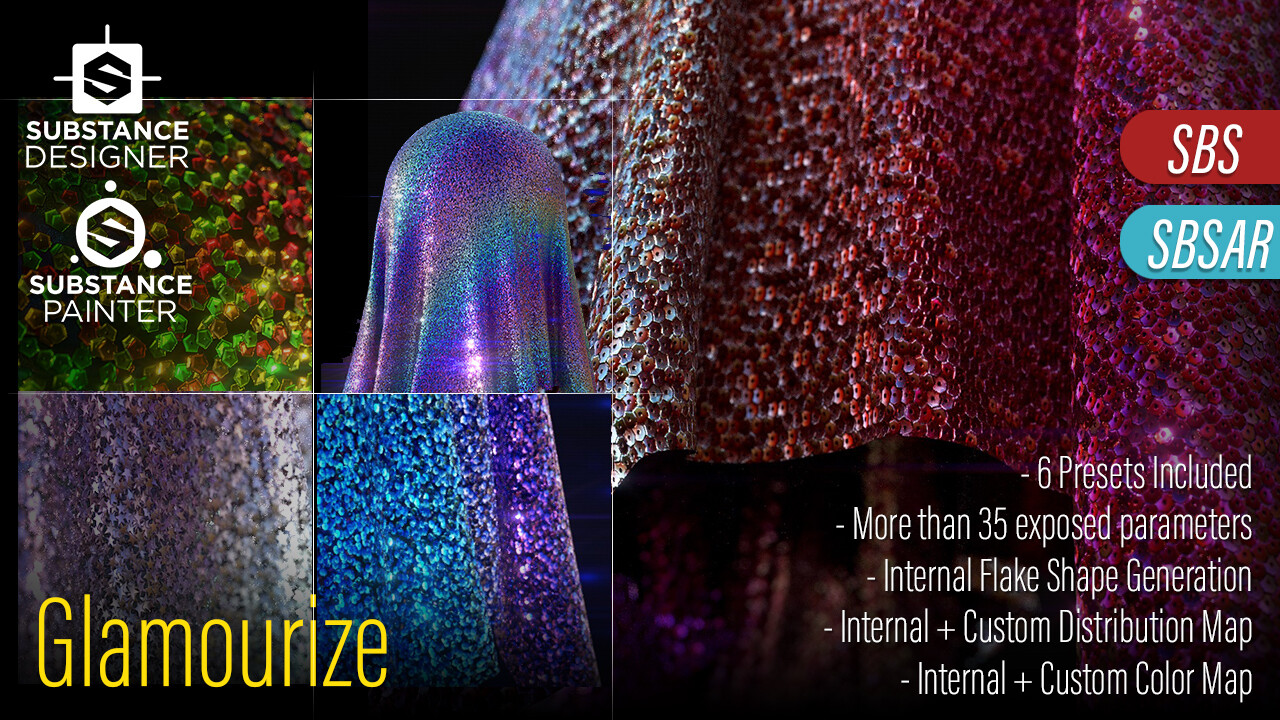
Glamourize - https://www.artstation.com/marketplace/p/RdYN/glamourize-procedural-and-flexible-material
I did a Sparkling material that sells very well in the past, but i would like to do a much more advanced one that is more customizable, flexible and smart. So I come up with this one. I started it as a study, from scratch and ends up as a very useful asset/tool/material do achieve a nice range of sparkling "fabrics" variation.
I exported and added a lot of parameters to it, options and released in my Marketplace. People were using it in a bunch of ways, tweaking it or just using the available presets.
It was SO COOL and surprising to receive a message from my friend Pedro Conti saying that he will be using the material in the Music Video he was working one. Turns out Glamourize was used on the Latest (Aug-2020) Katy Perry's music videos and everything looks amazing and sparkling there ! That was a GOOD use of my tool and I am happy to somewhat helping such great productions like that.
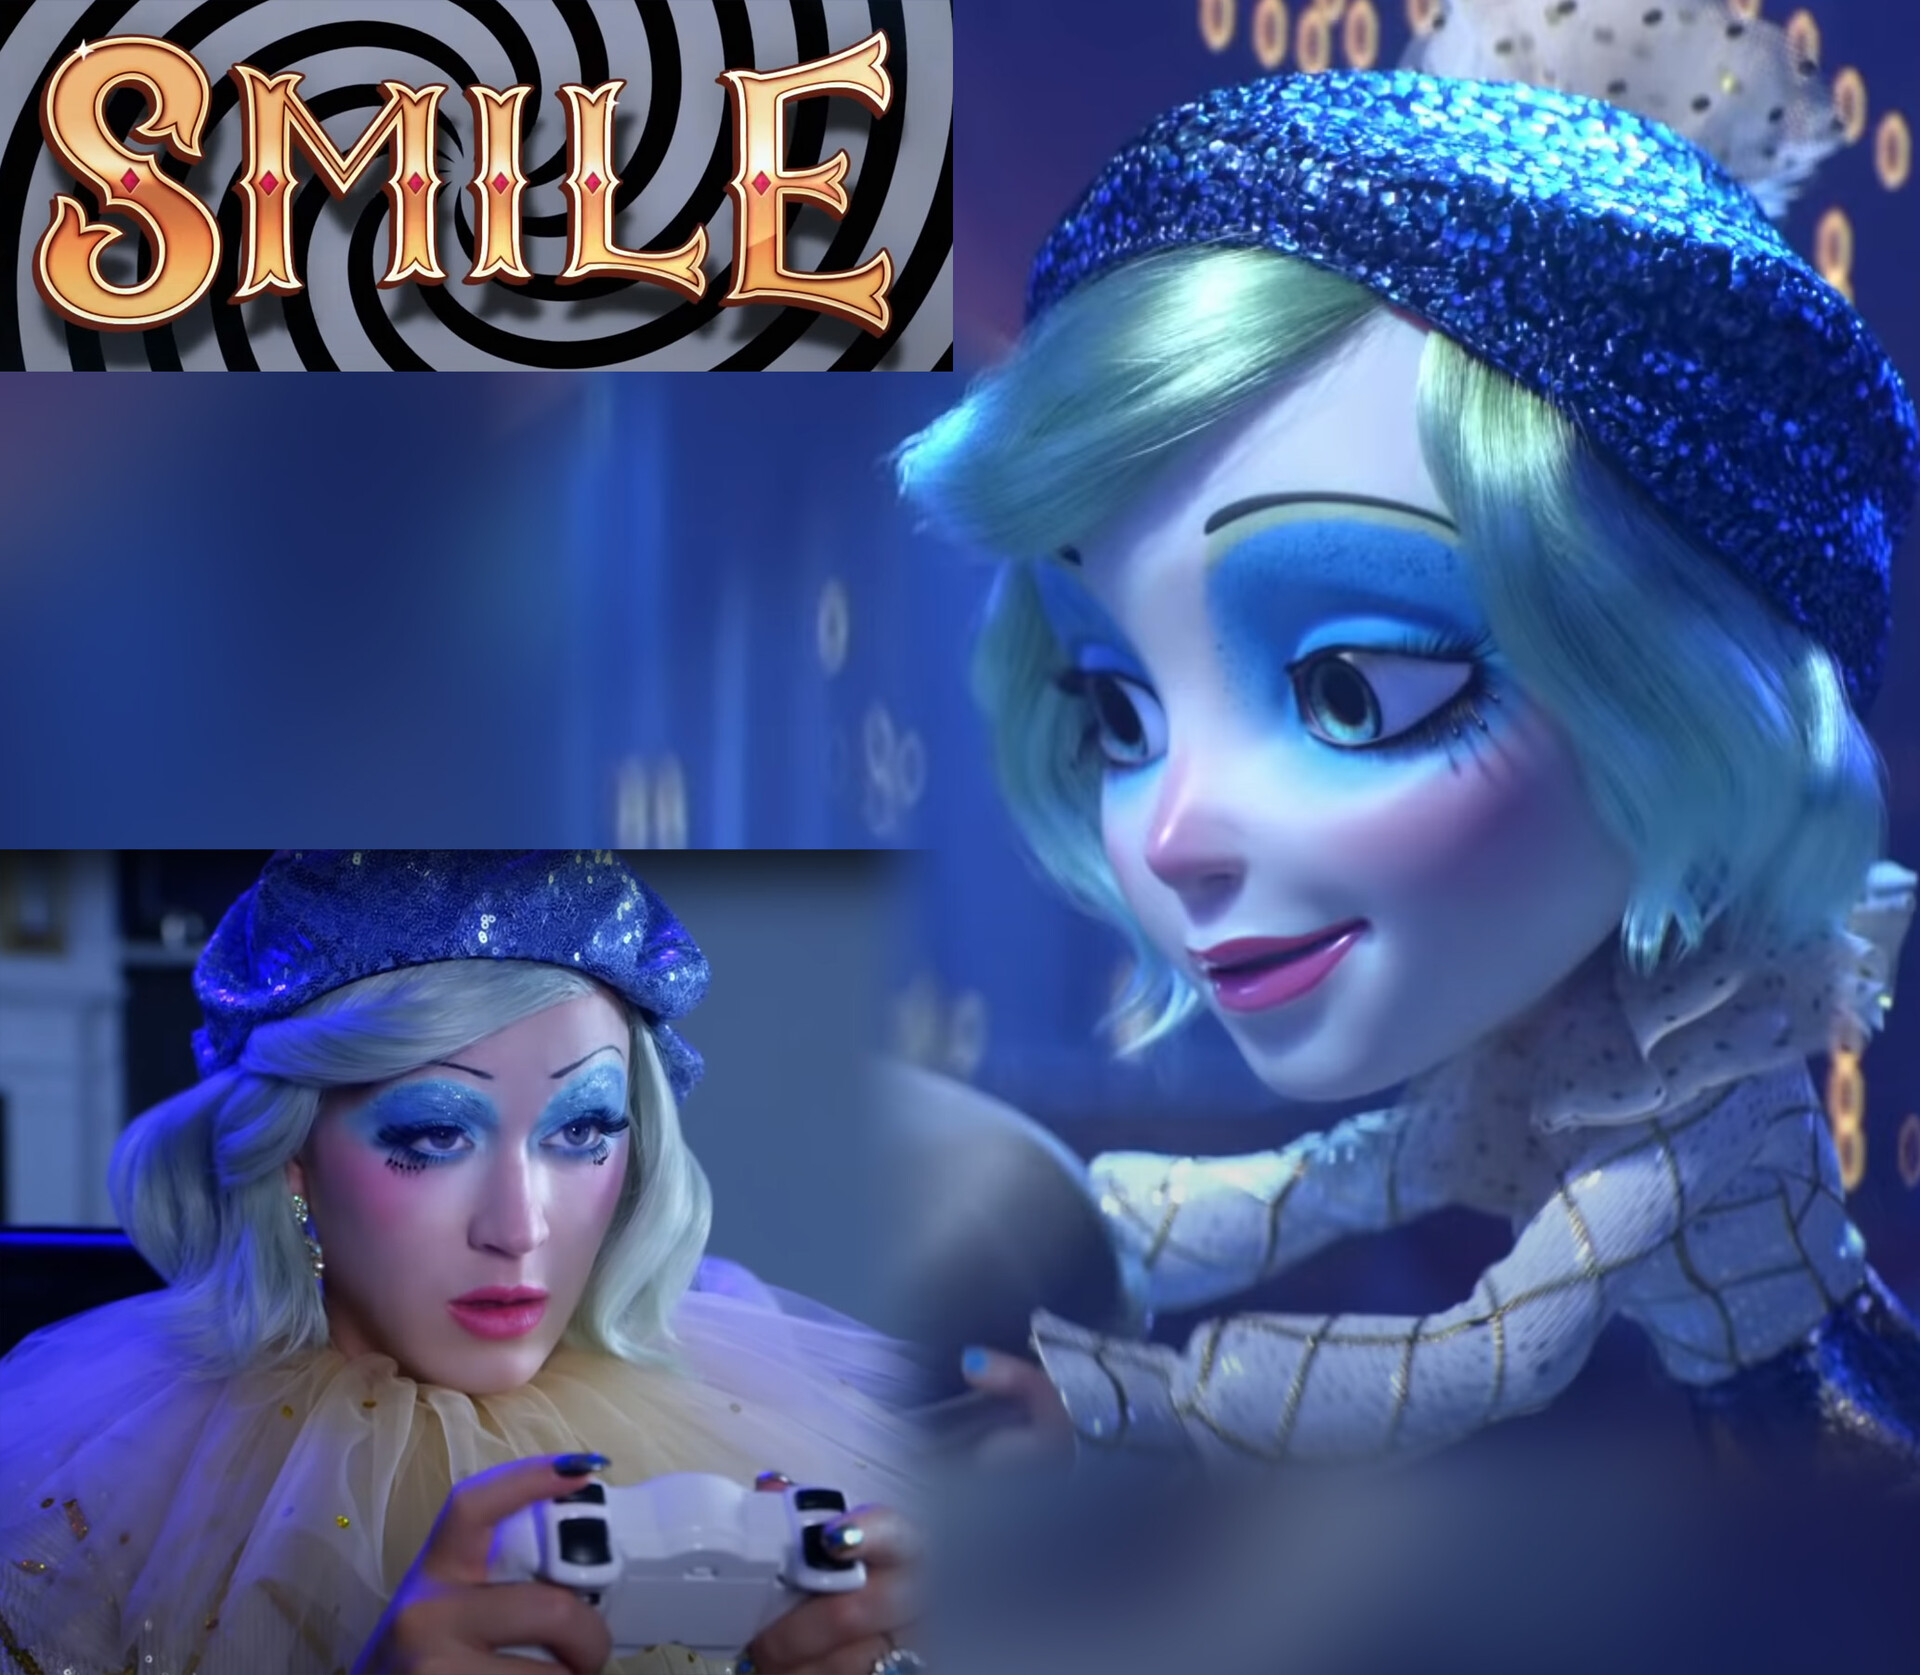
Here you can check the video Clip where Glamourize was used for the hero Character of Katy Perry.
=========================================================================================================
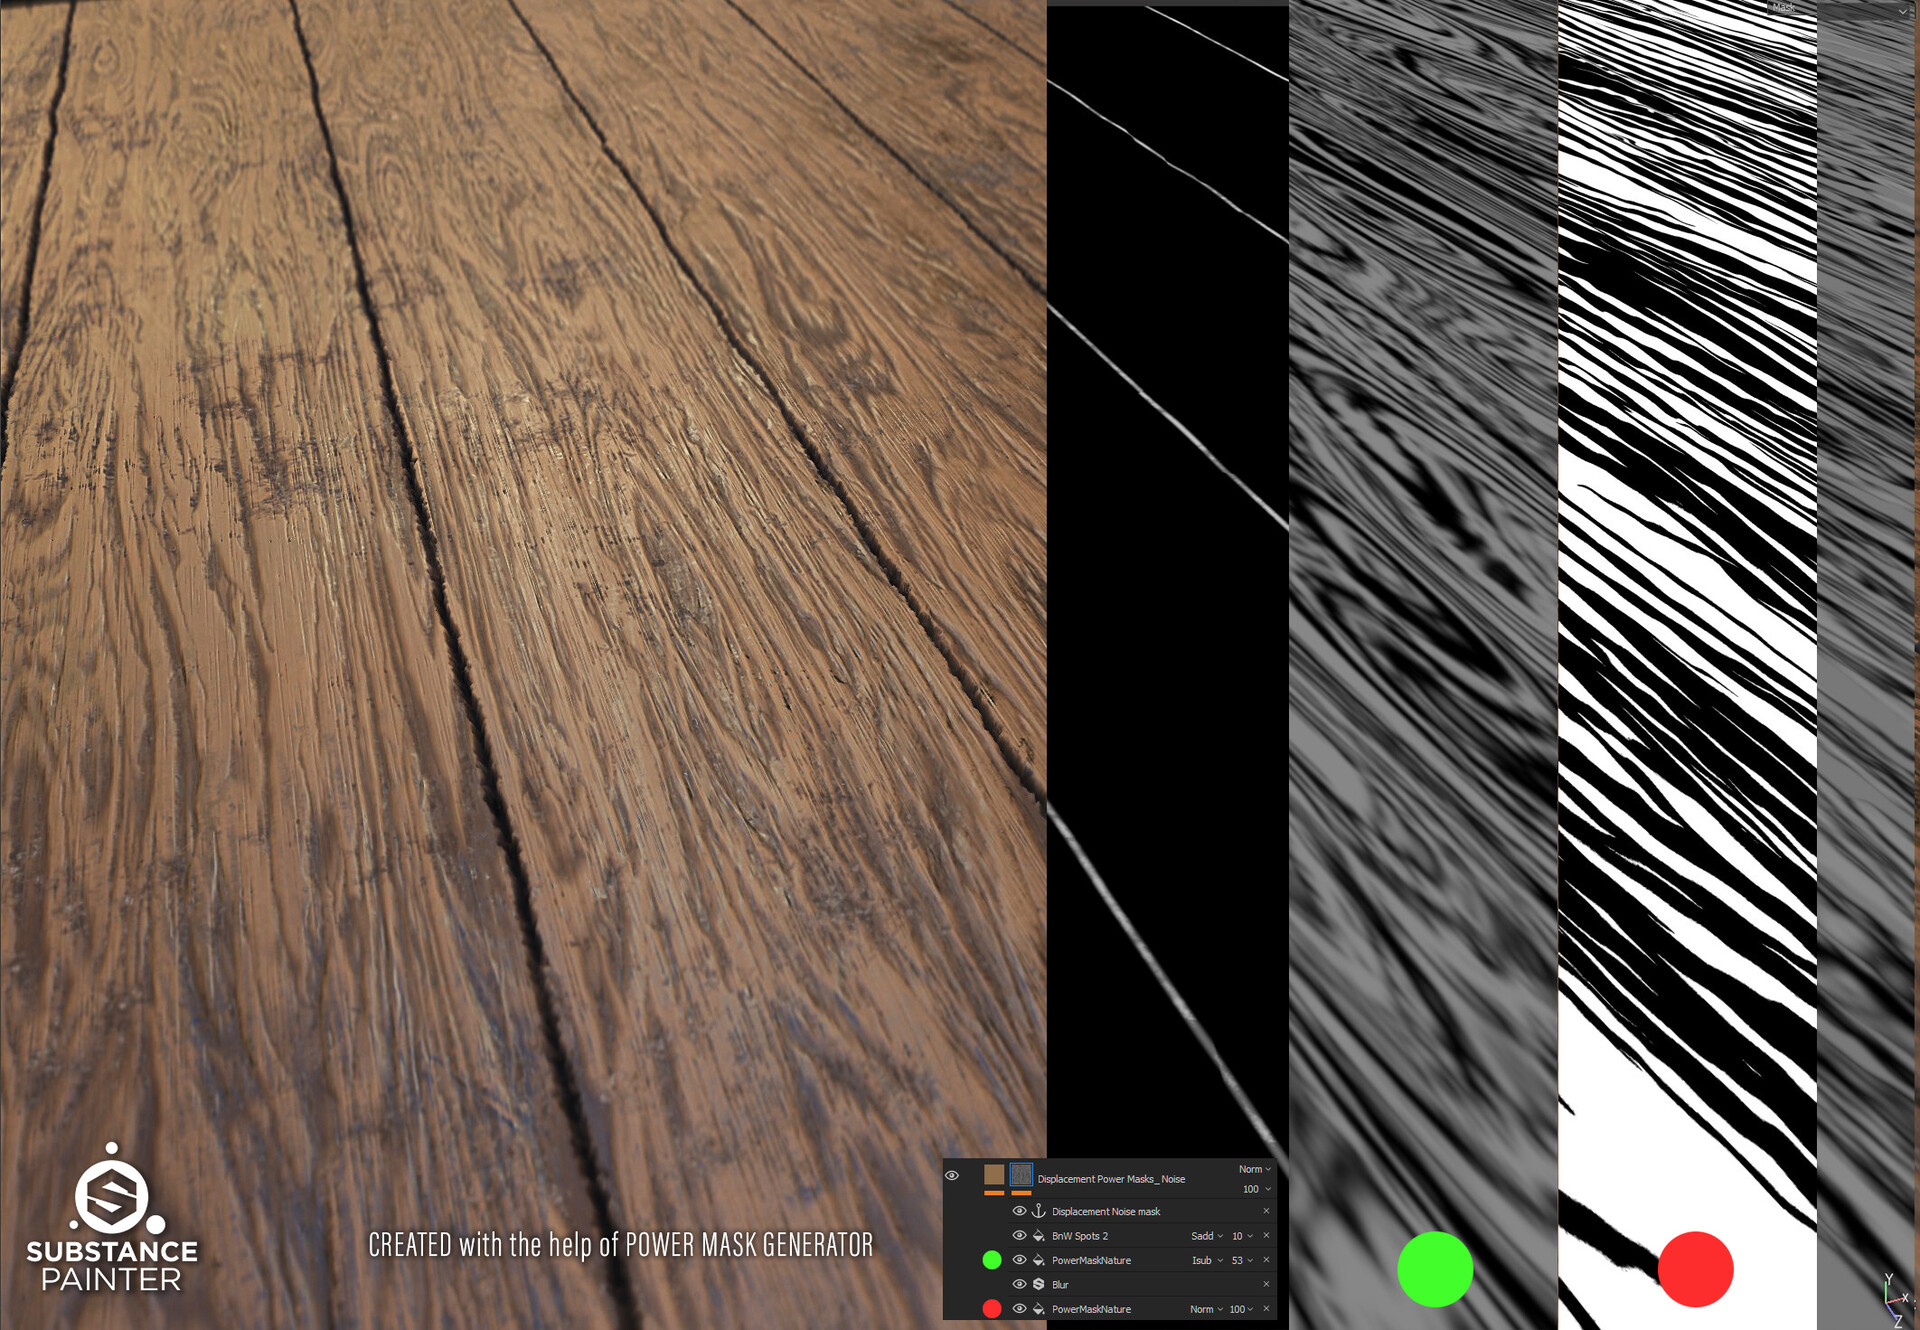
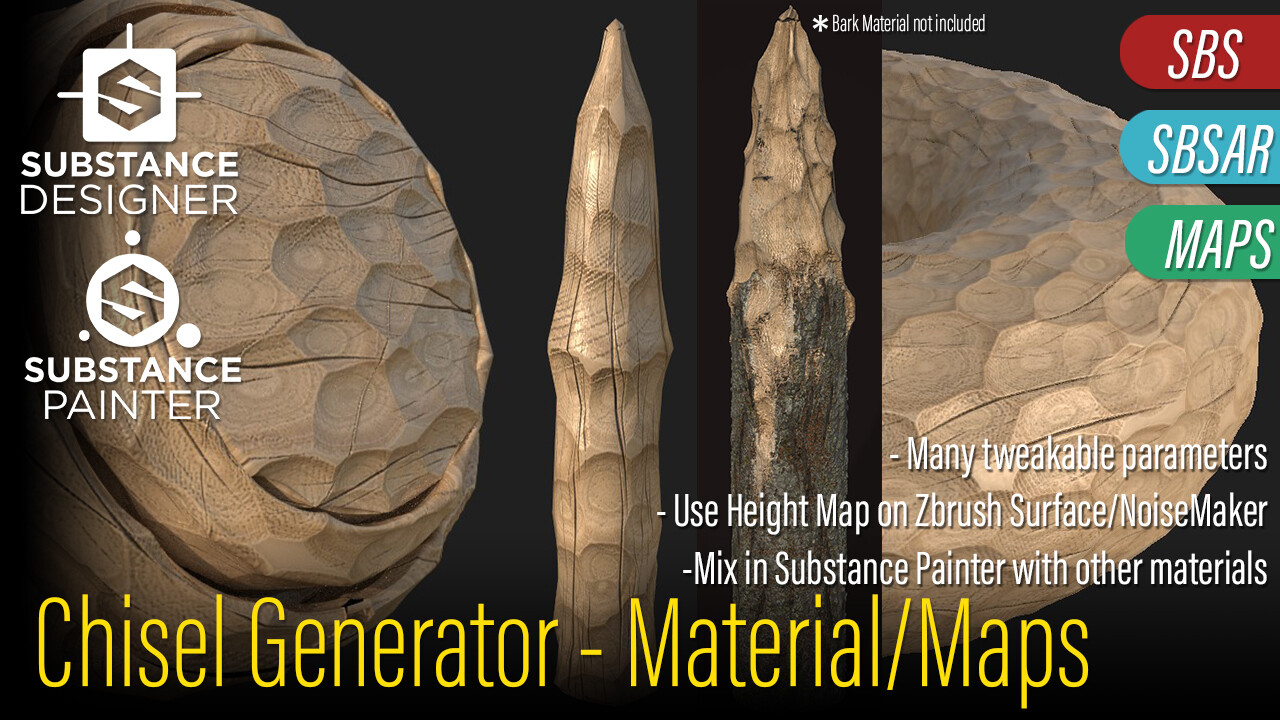
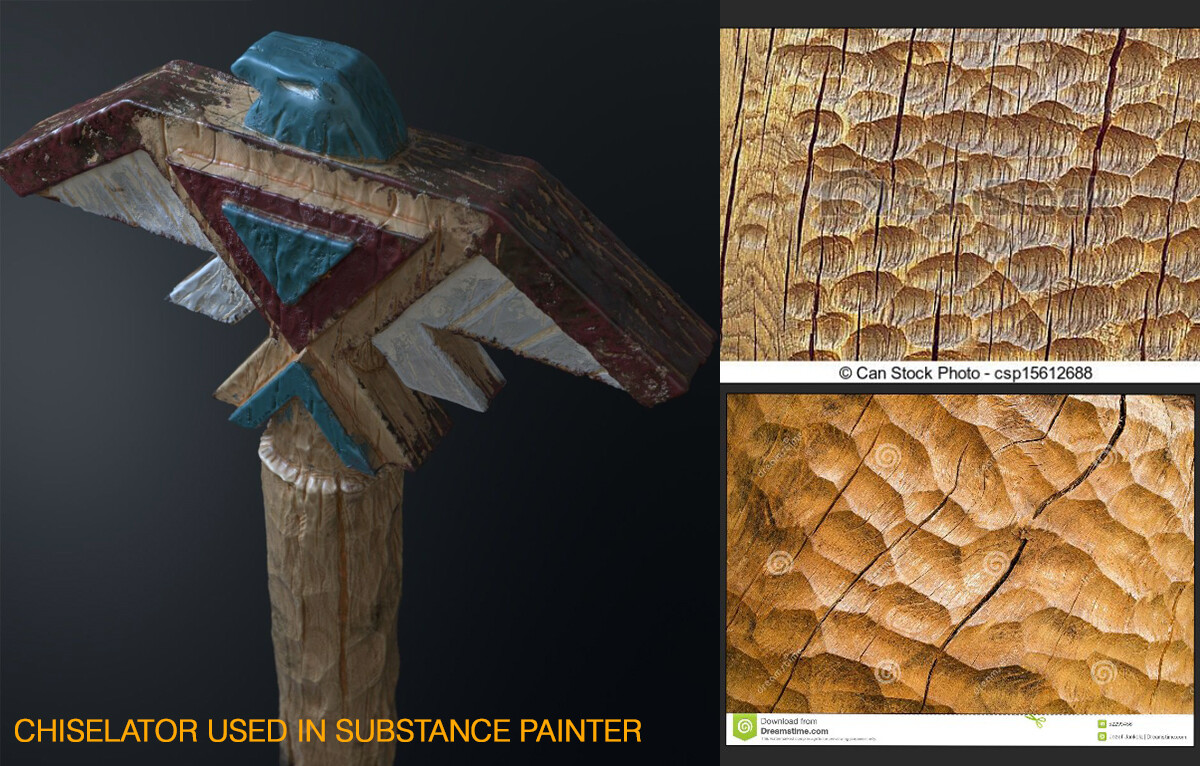
Chiselator - https://www.artstation.com/marketplace/p/NlyL/chisel-generator-procedural-material
I had to create some chiseled assets once and then I made this tool to use in Substance Painter. It can be used as basematerial or just mixed into the displacement.
It was a Great Surprise to know that this material helped Guilherme Marconi with his Awarded entry :
Meet Mat 2 - A Tale to Illuminate the backlands - by Guilherme Marconi 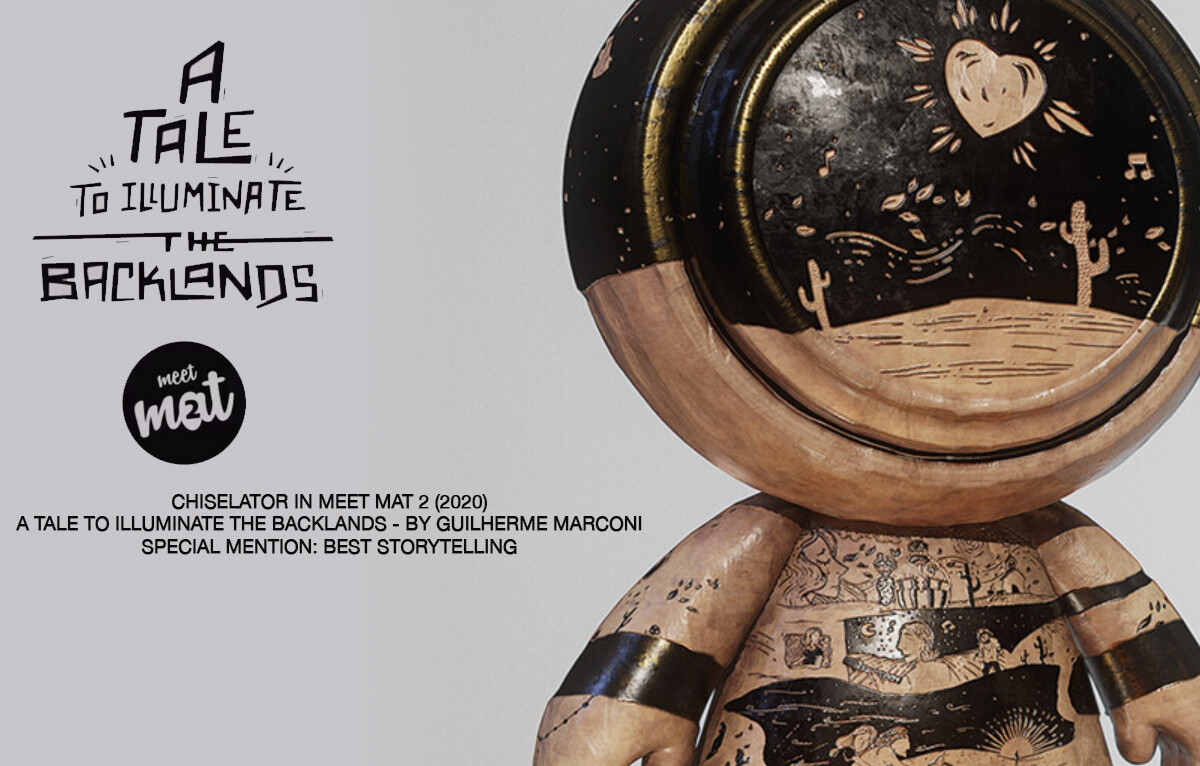
=========================================================================================================
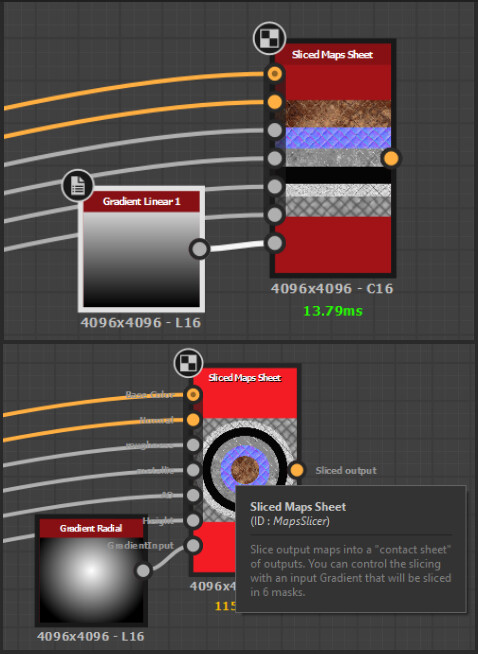
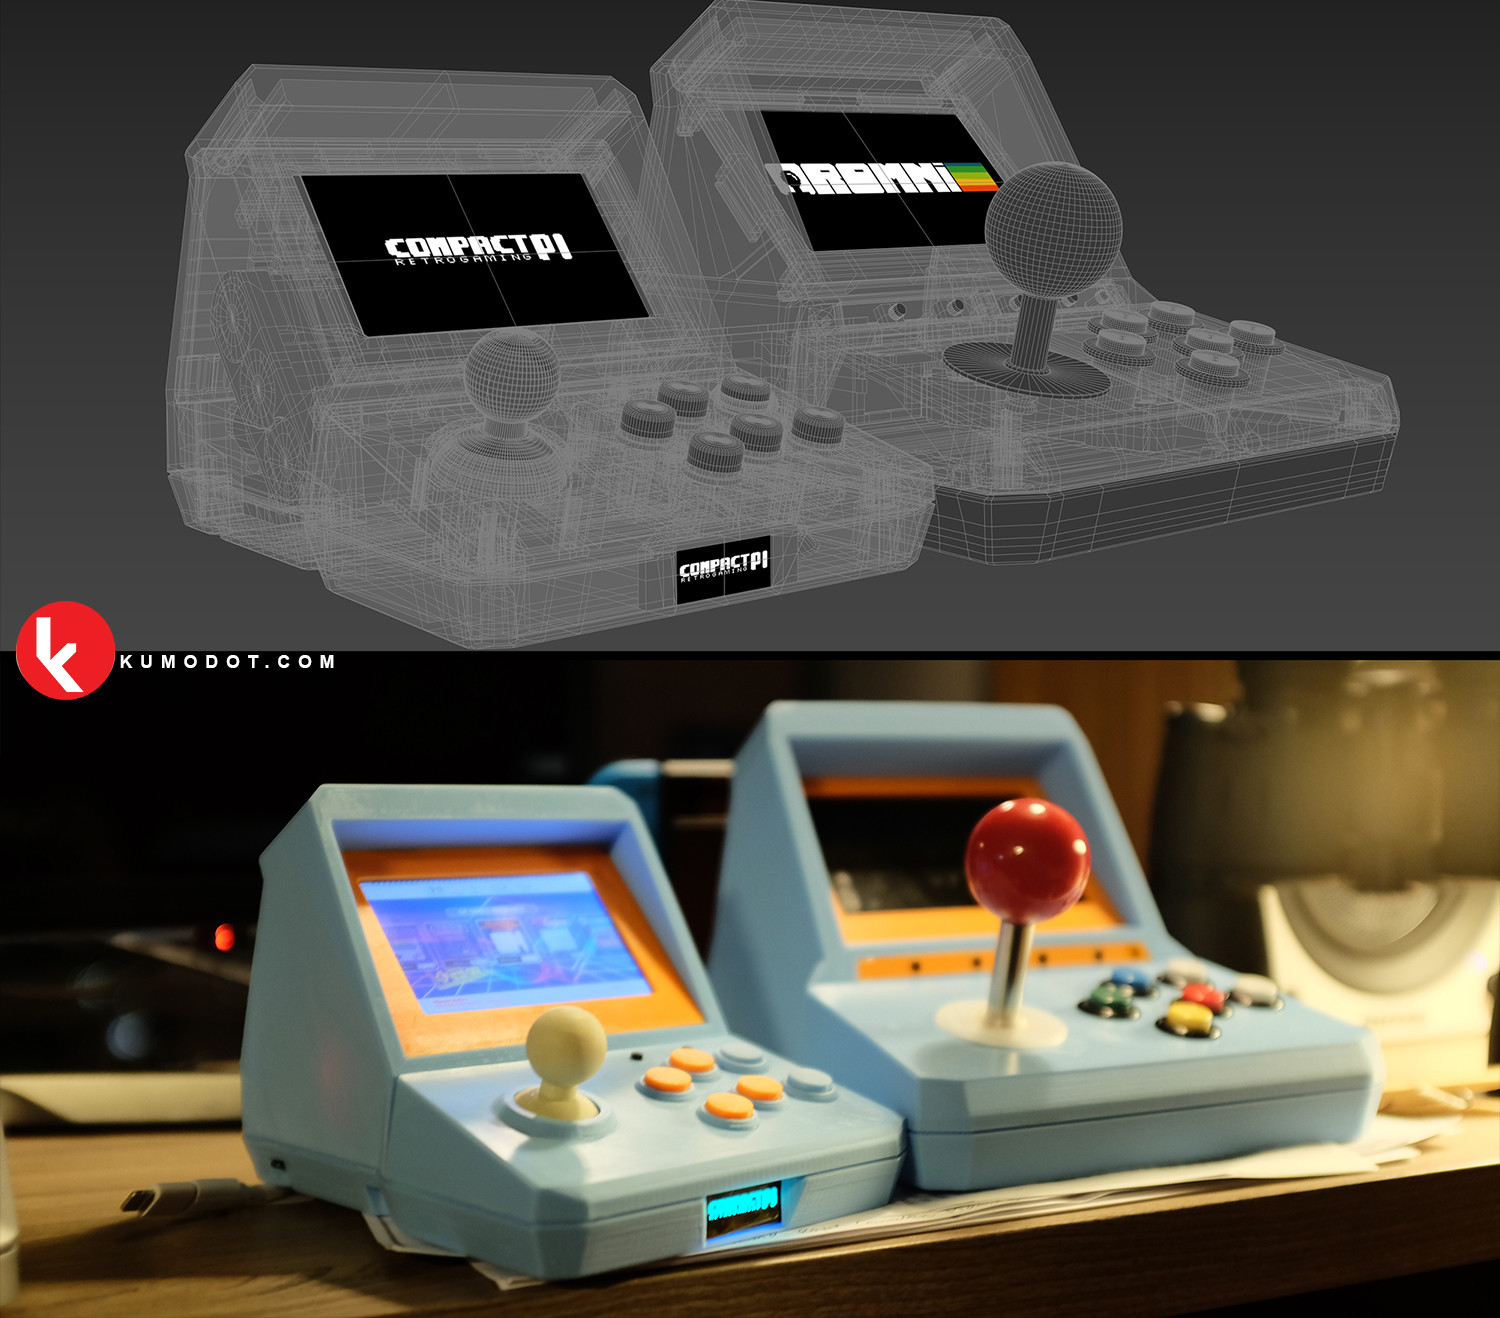
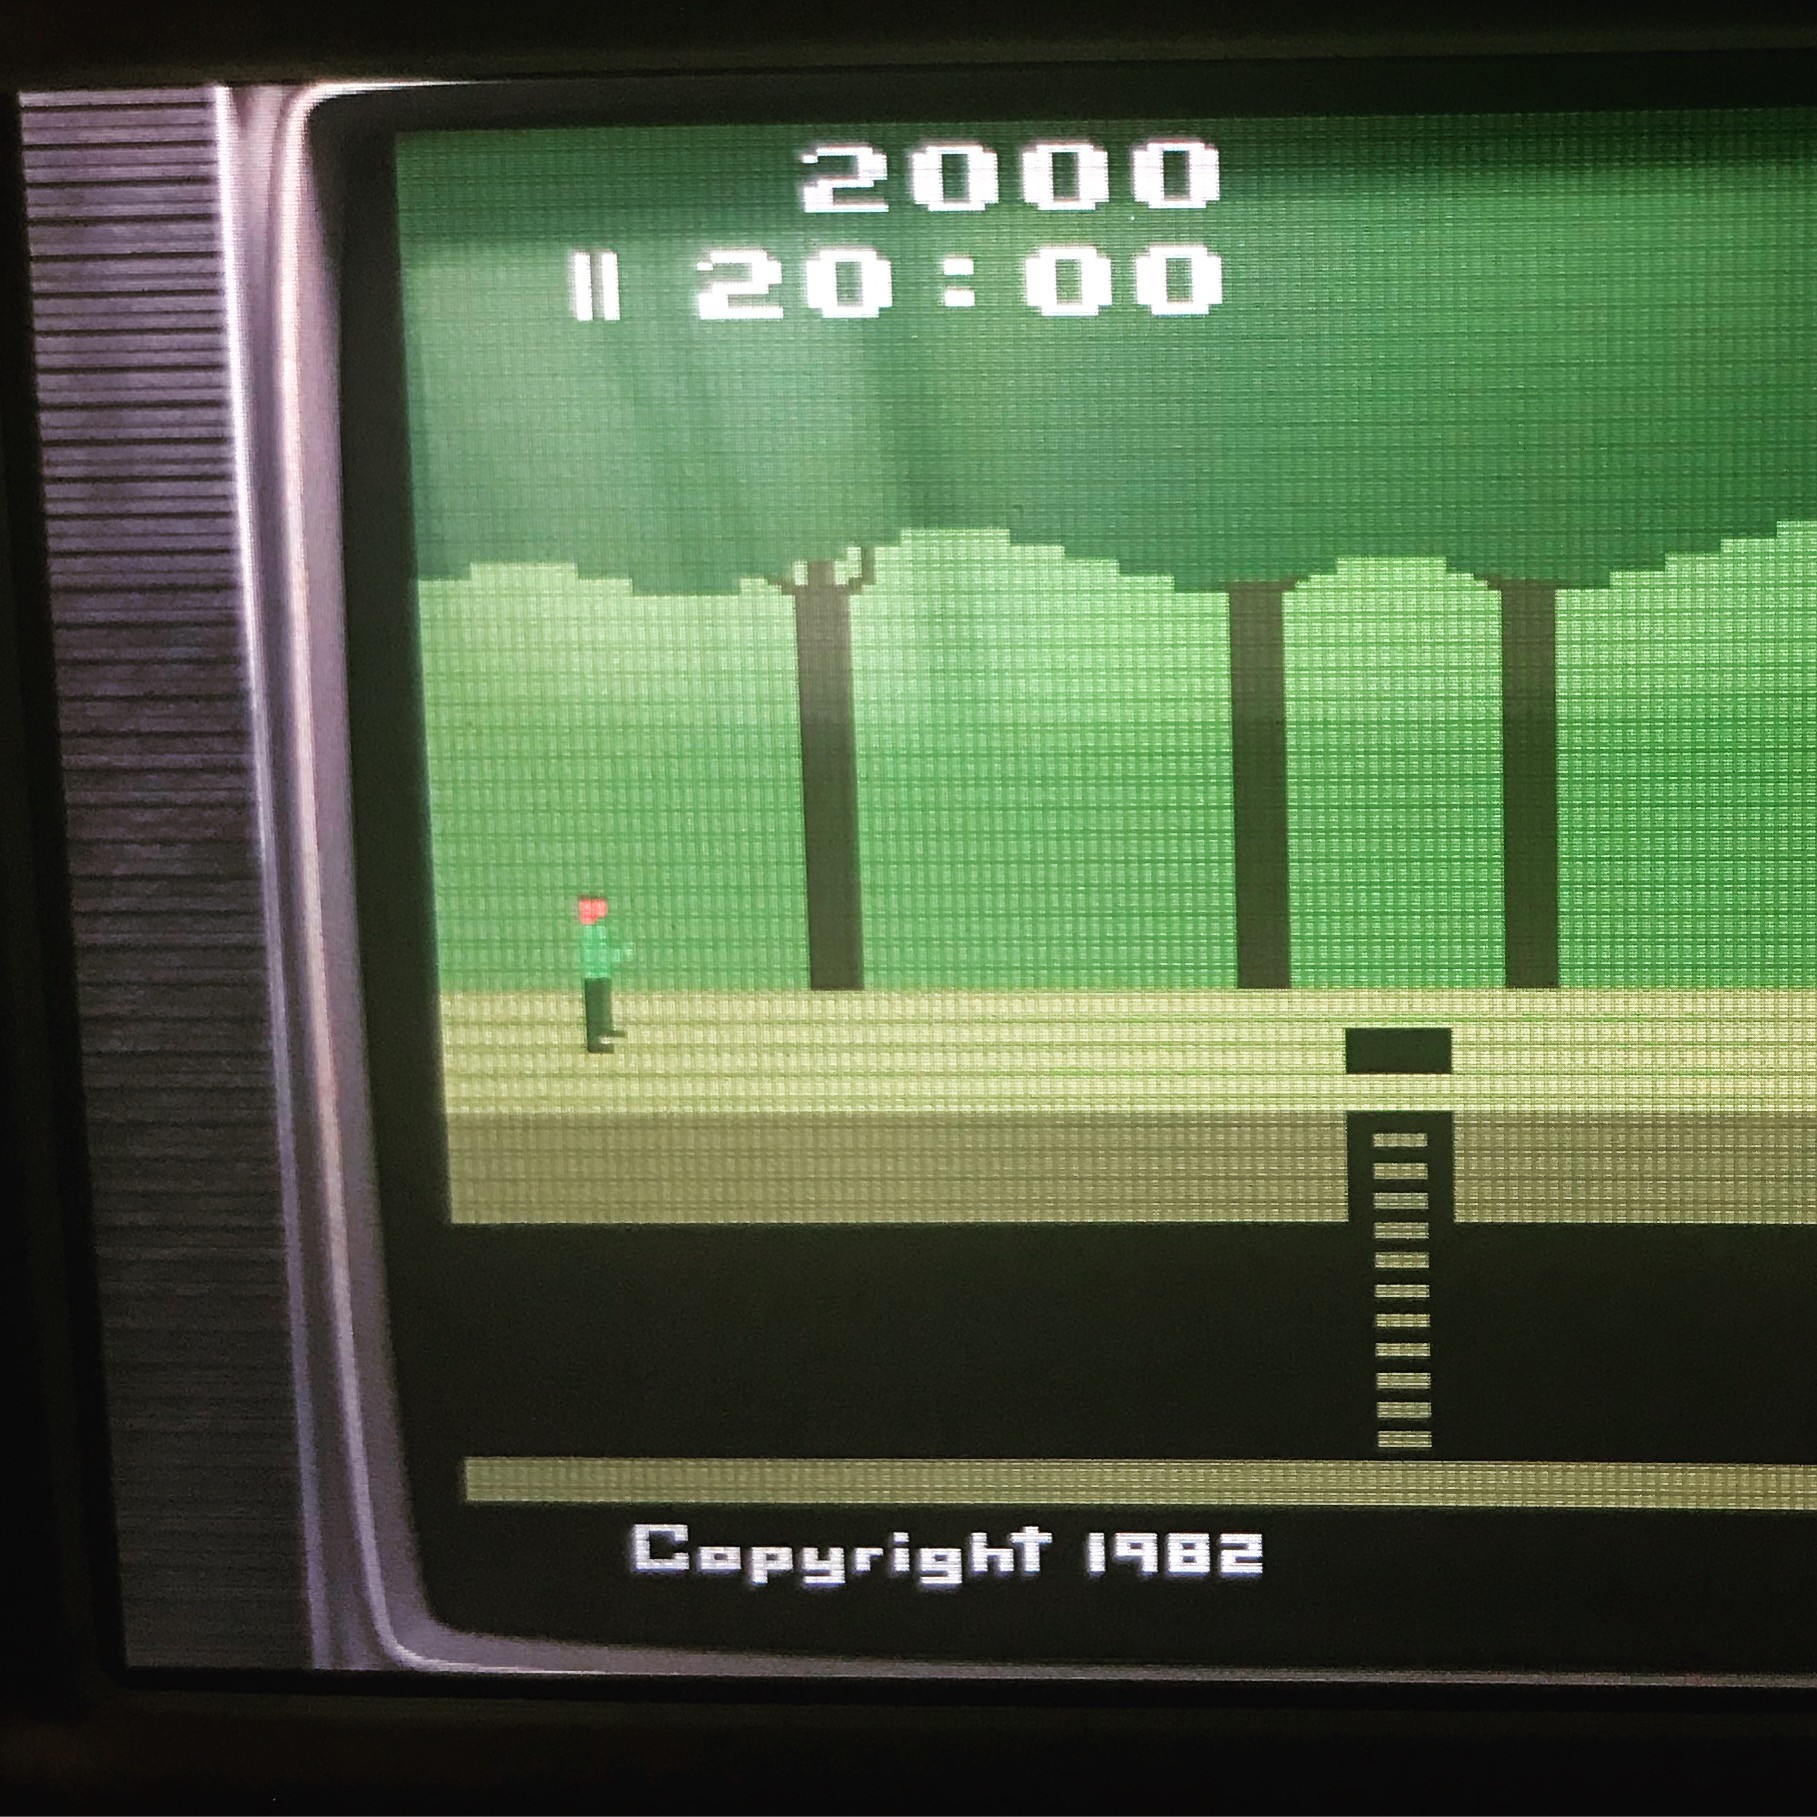
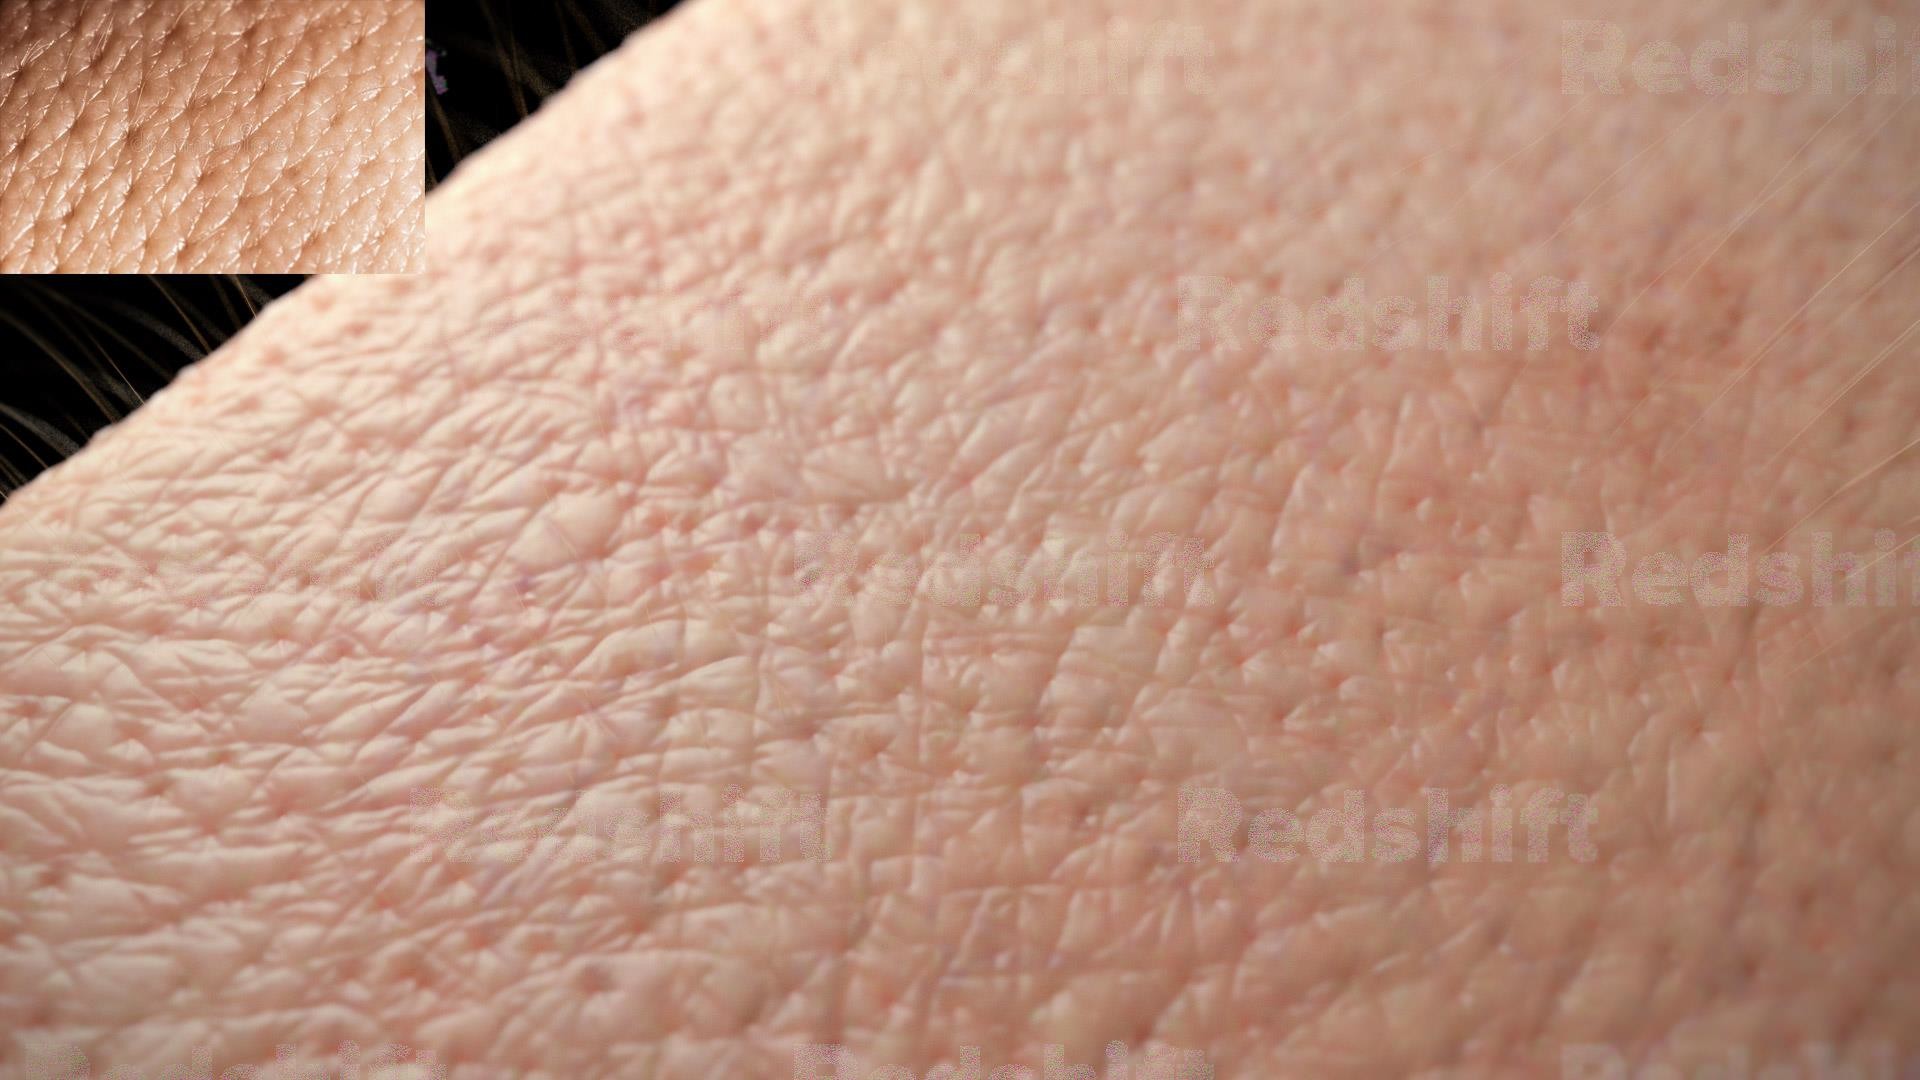
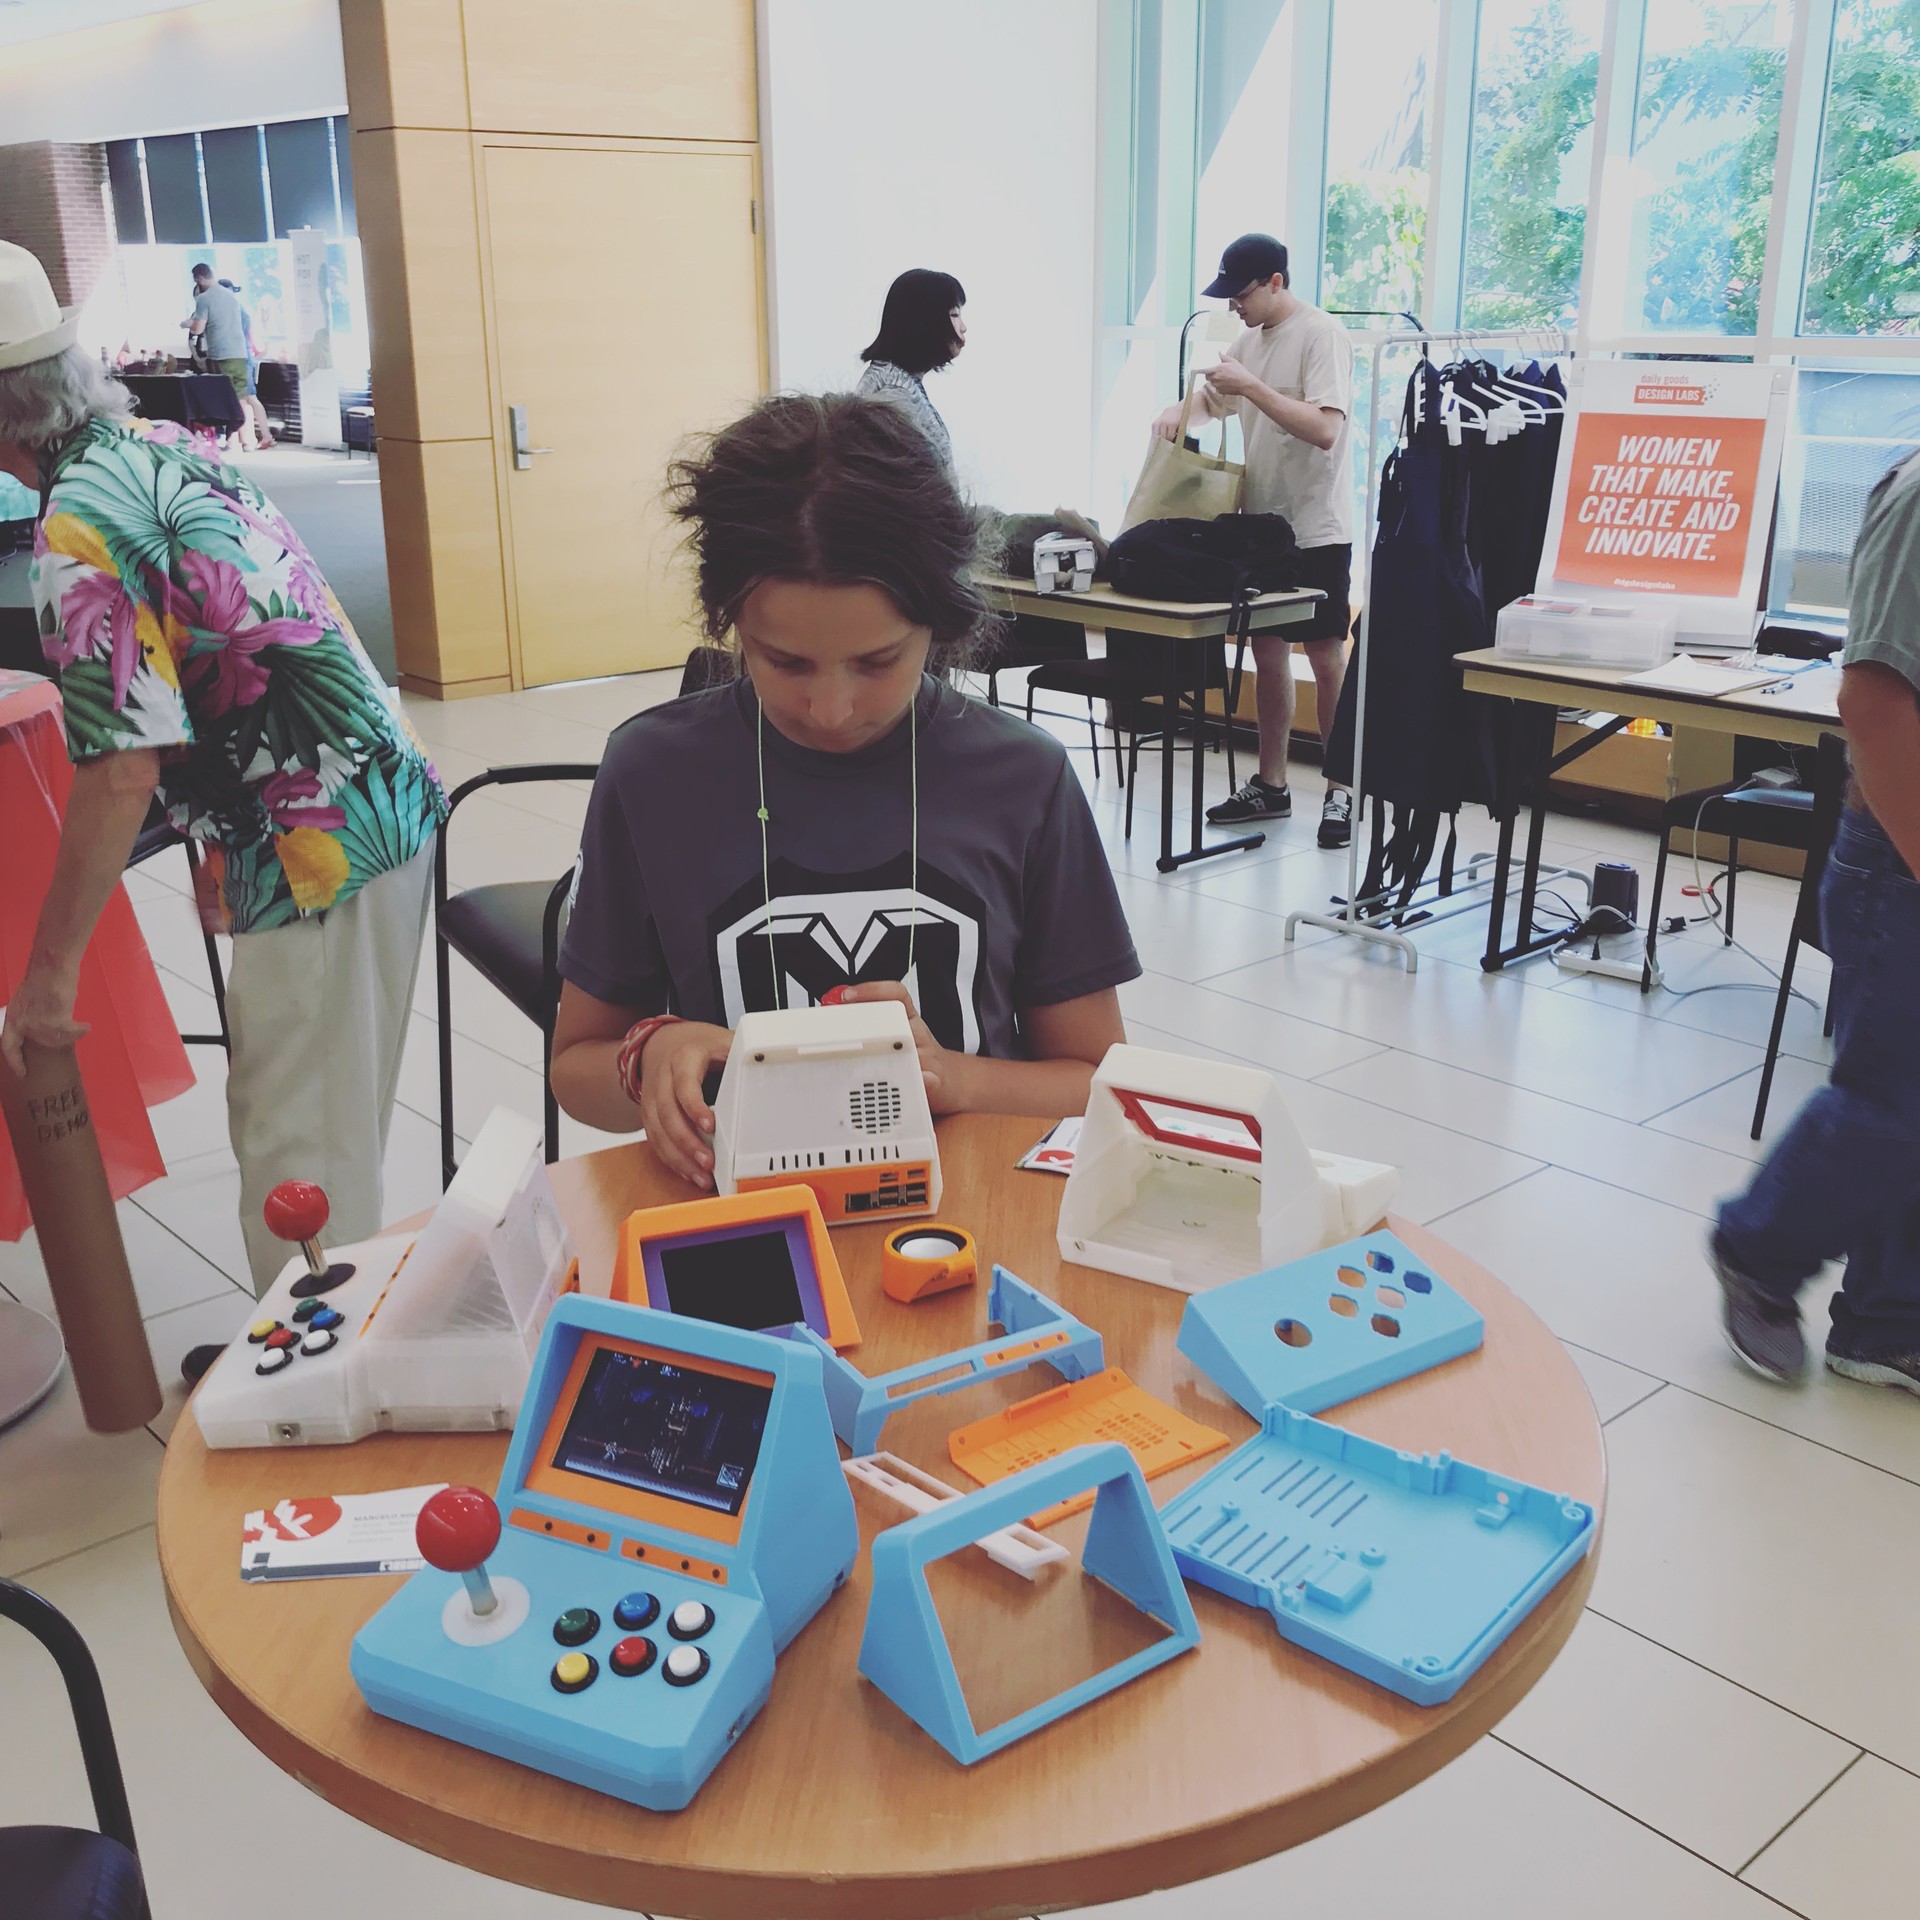
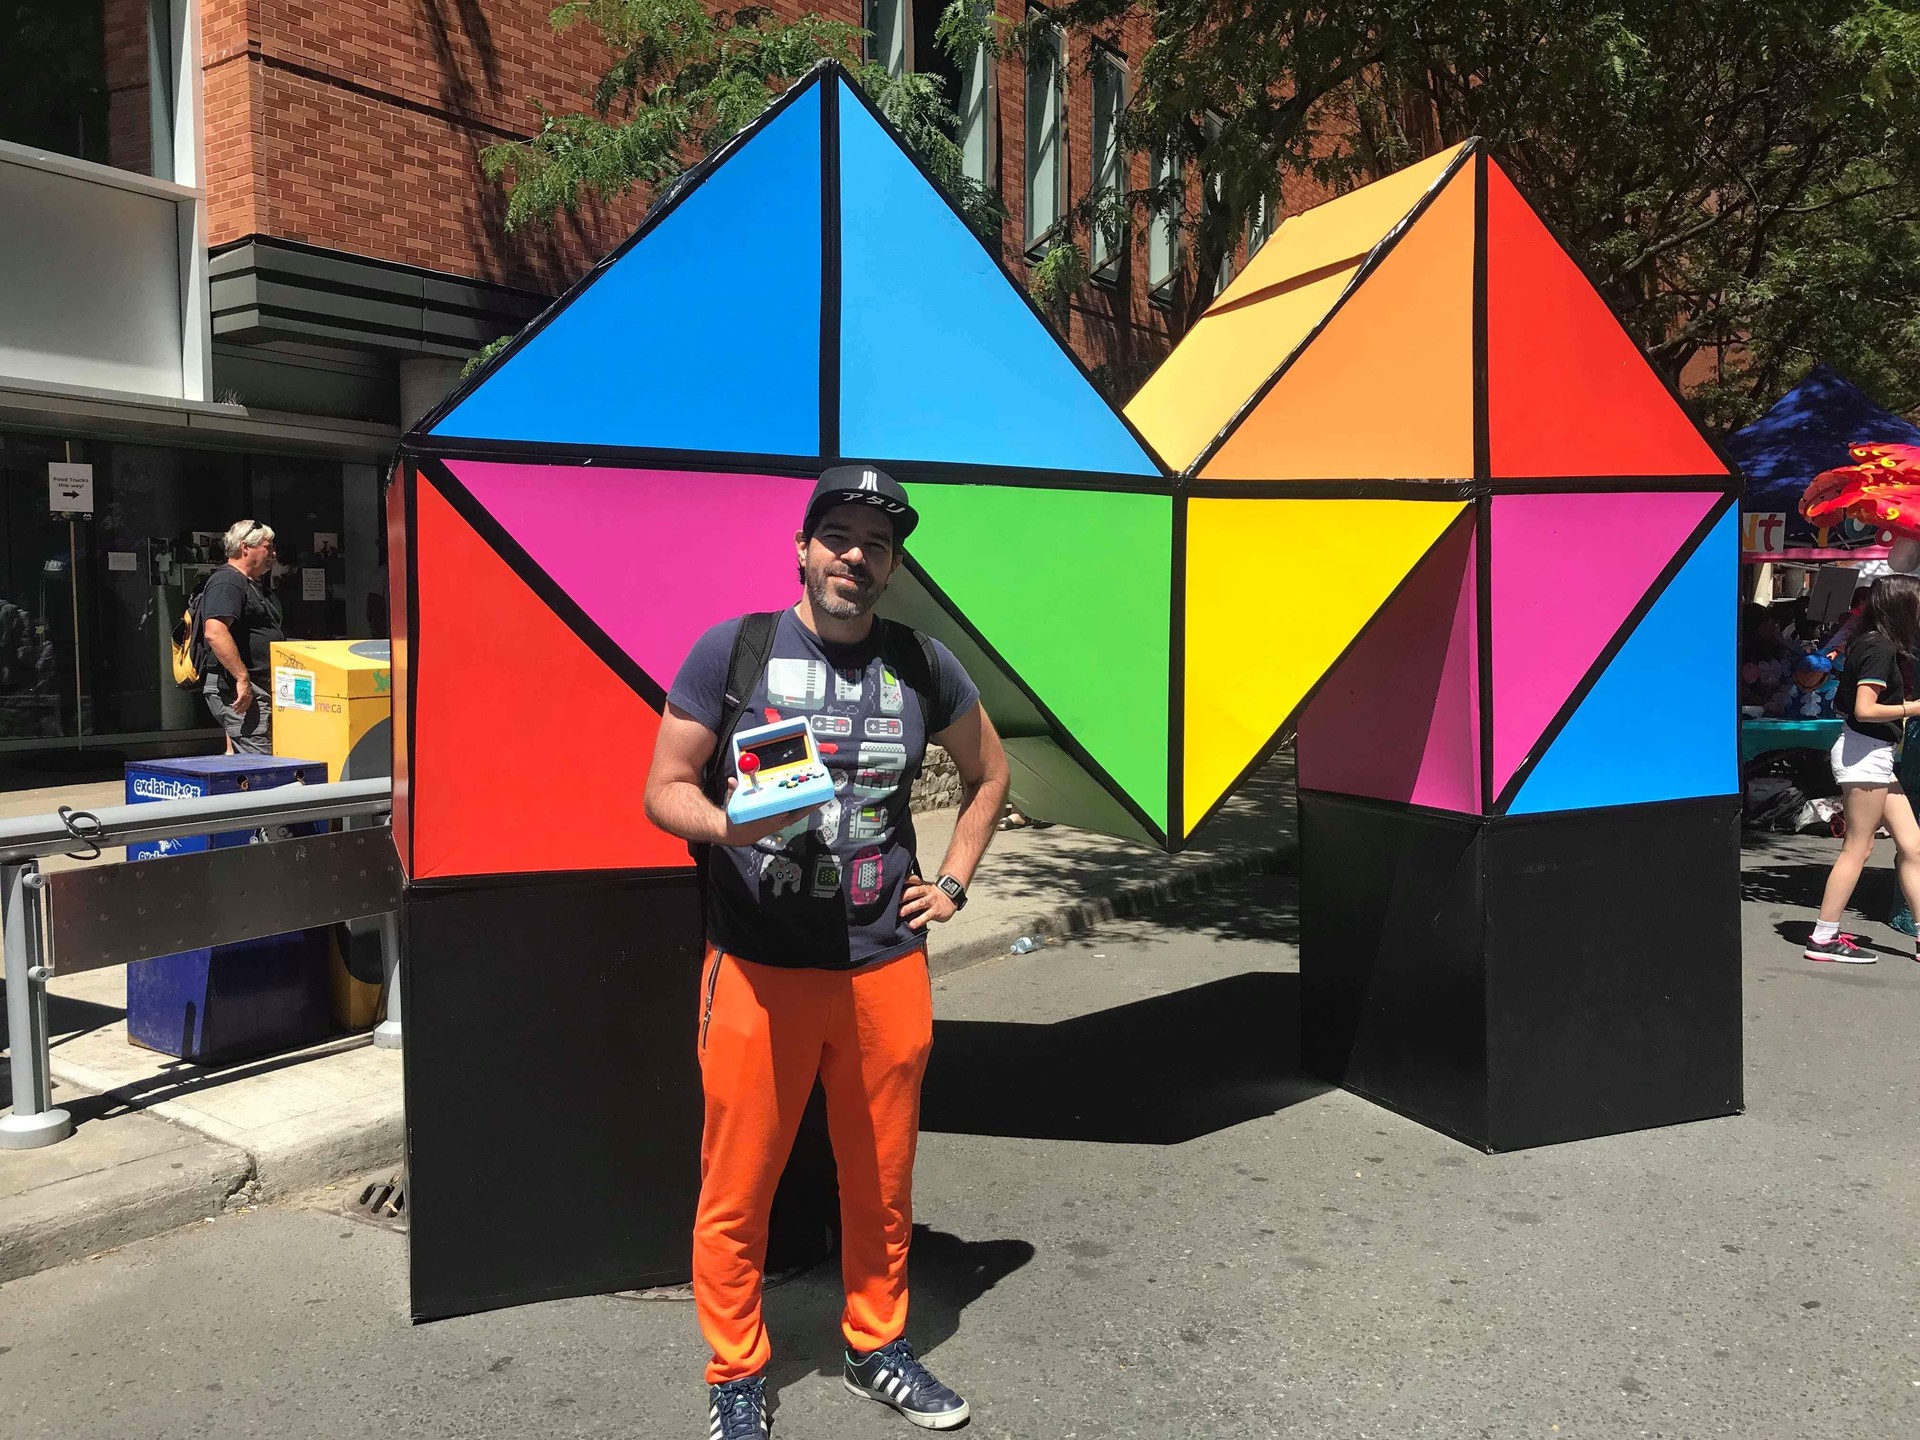
LCD Material (Substance Painter) - BaseMaterial/Filter (Updated Today) - https://www.artstation.com/marketplace/p/o5Pl/dotmatrix-lcd-shadermaterial-for-substance-painter-and-other-apps

Review : I like small details, even when you don't see them, i am always in search to make things look better in details. This is one example of it. I was tired of doing (and seeing around) lazy Dot-Matrix LCD replications where people just pixelate images or just make then low res and monochromatic. Not respecting the physical aspects of an Dot Matrix. As i have a background on Electronics and in 3D, i HAD to do something like this. So I made that filter for substance painter, that emulates properly this kind of screen. In details pixels are separate by a thin space, and as they lie over a glass sheet usually you have a gap to the backplate making those pixels cast shadows. This is a VERY subtle details, but it makes a lot of different to my eyes on a close Up shot.

==============================================================================================================
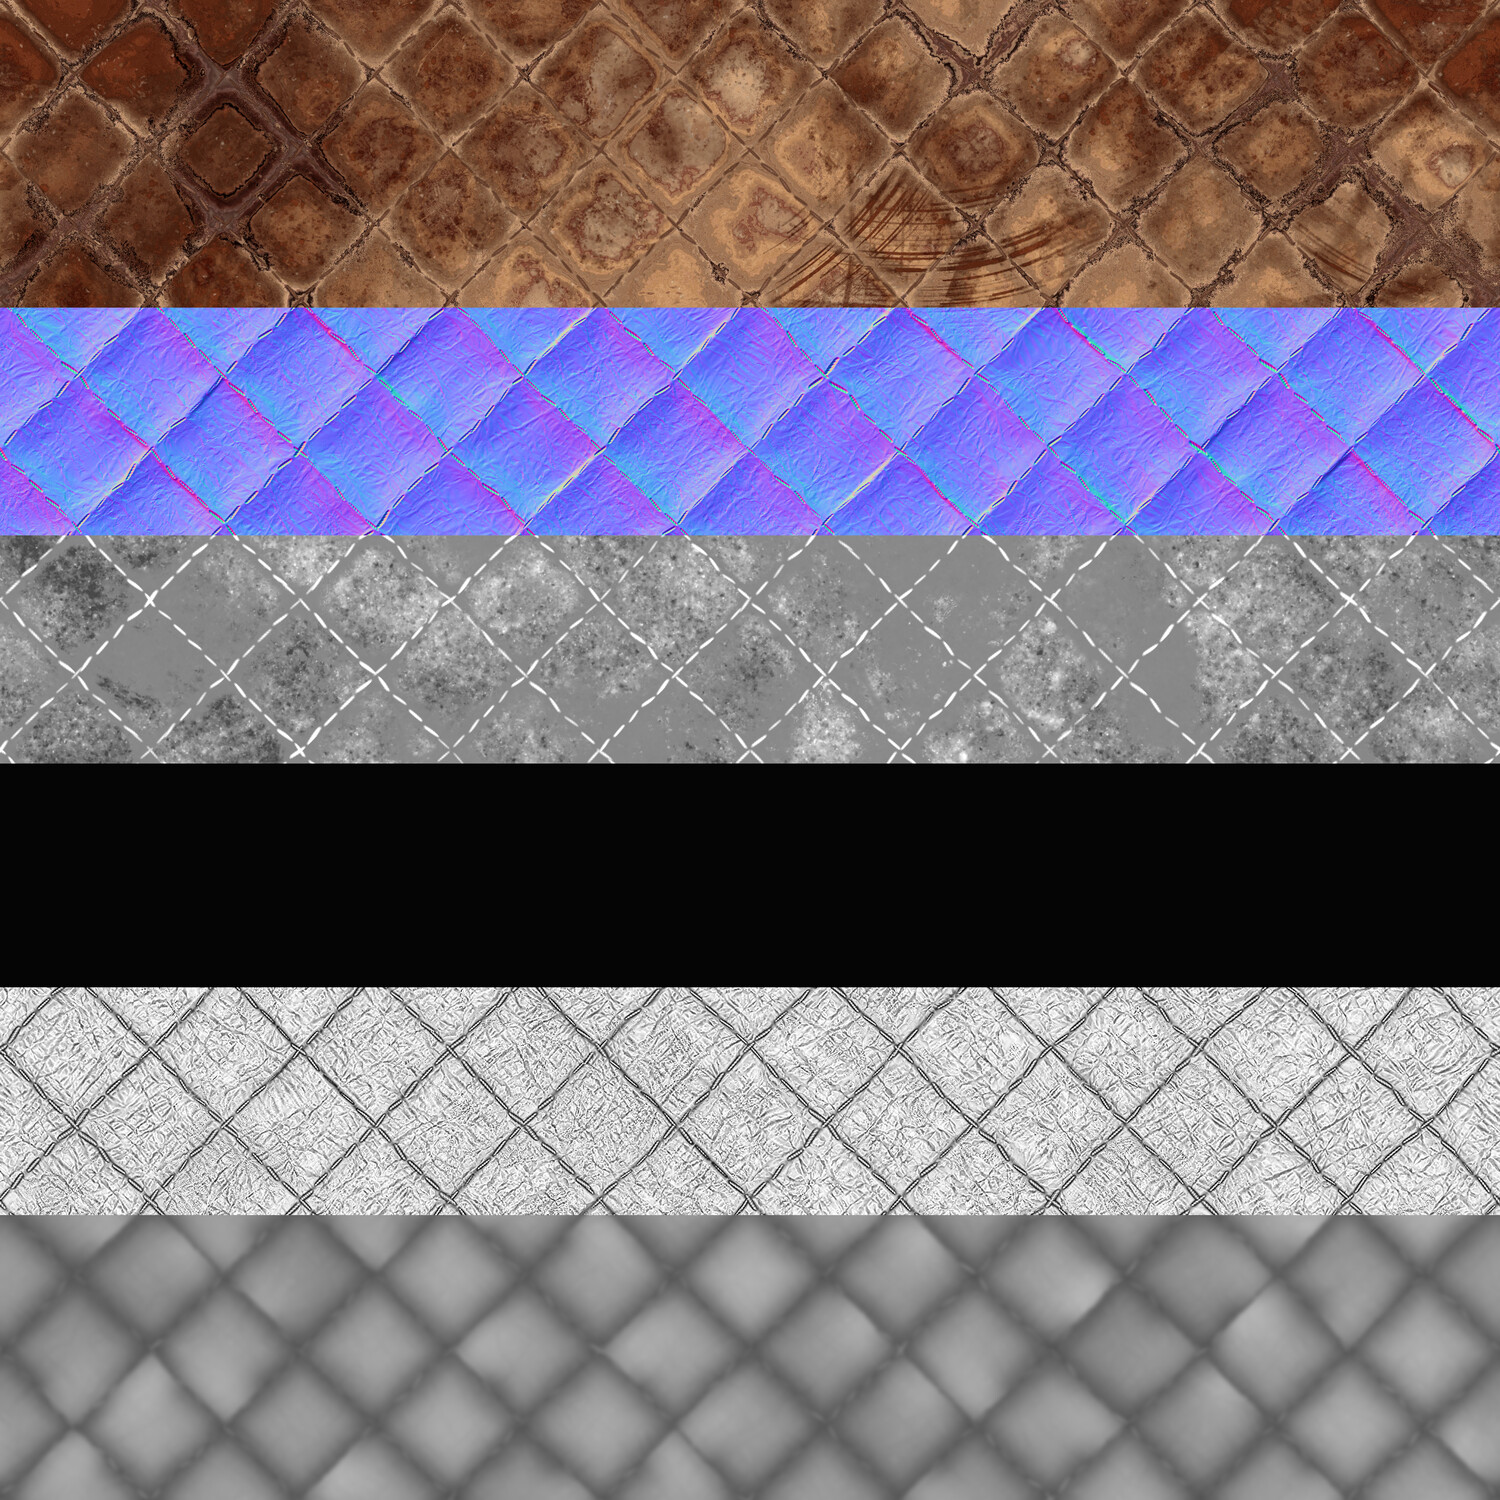
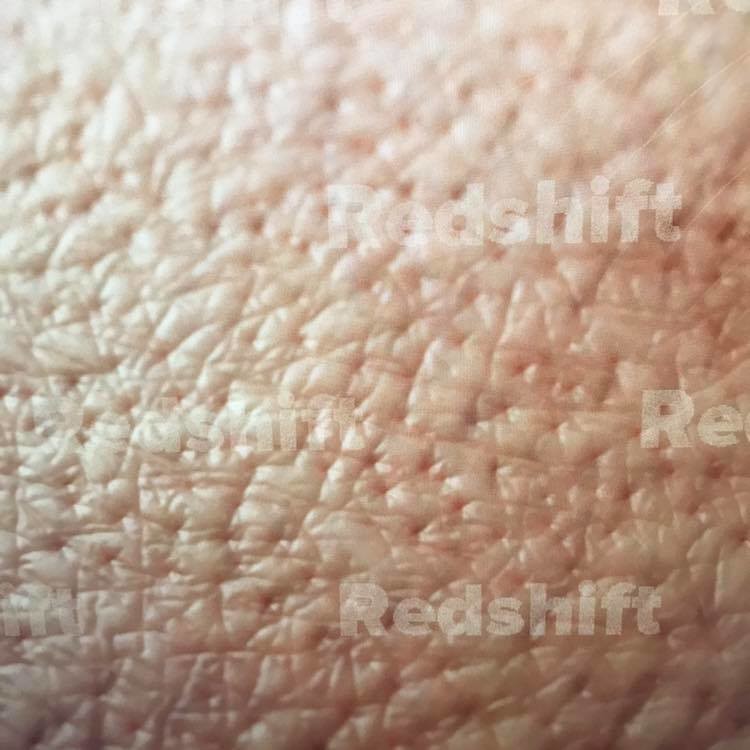
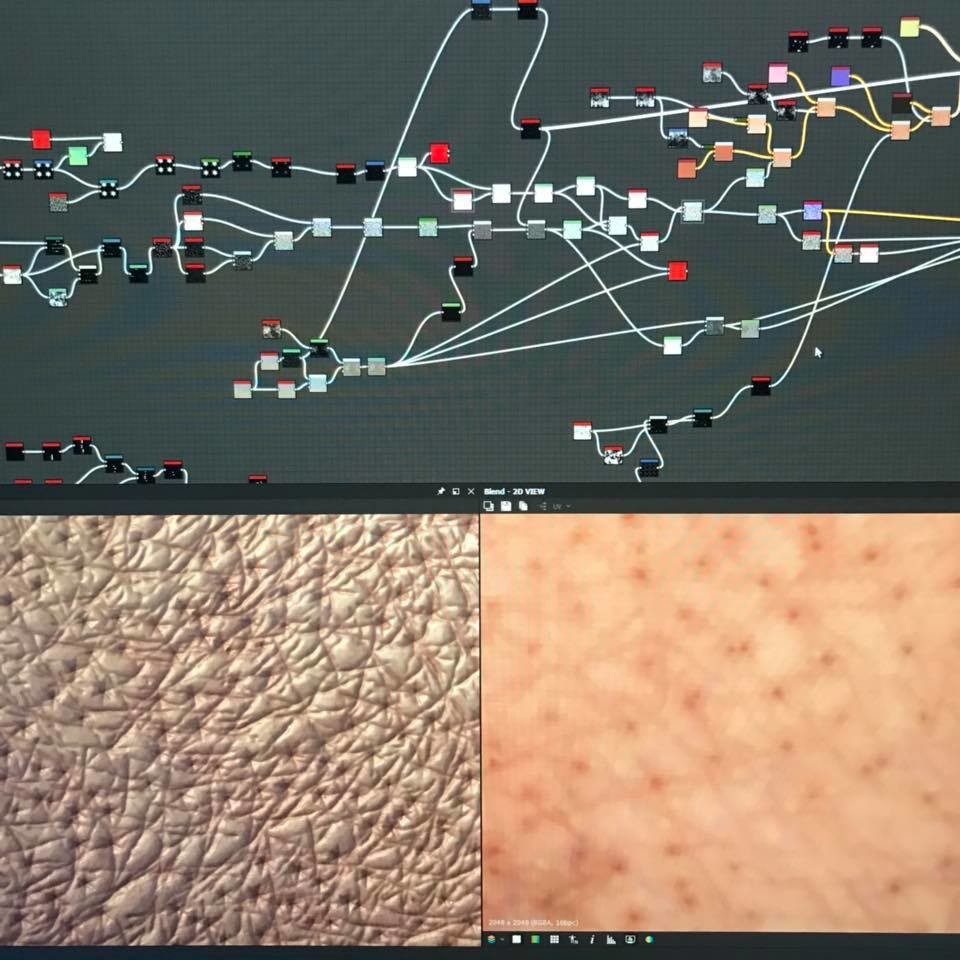
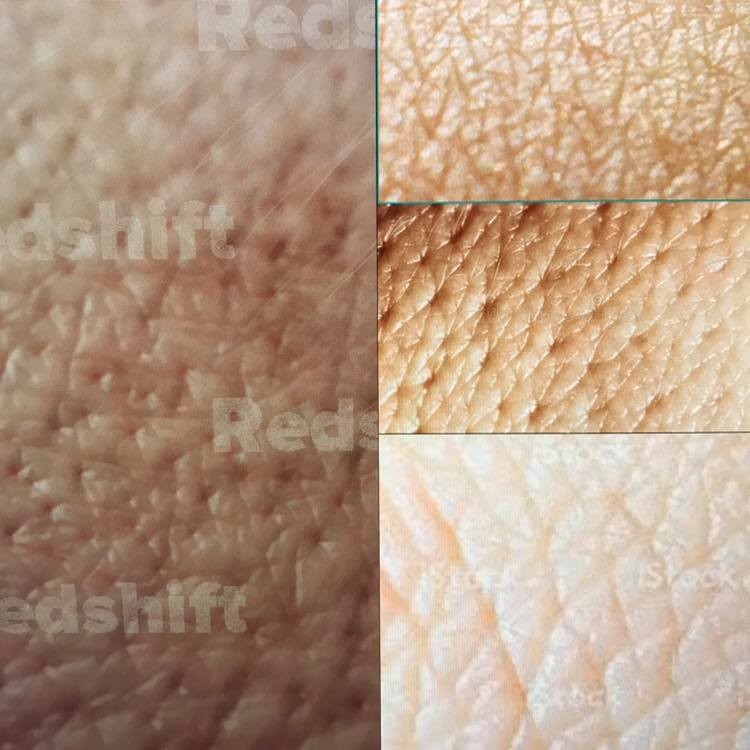
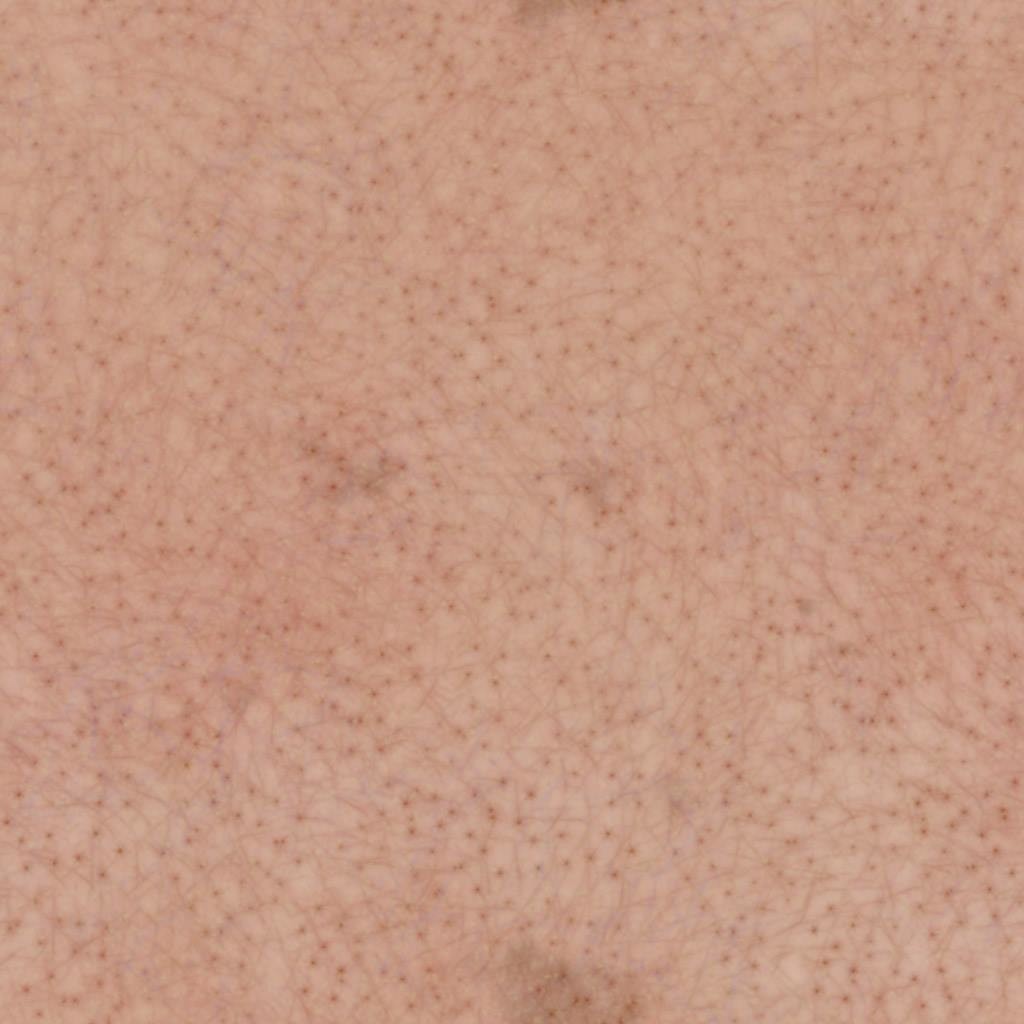
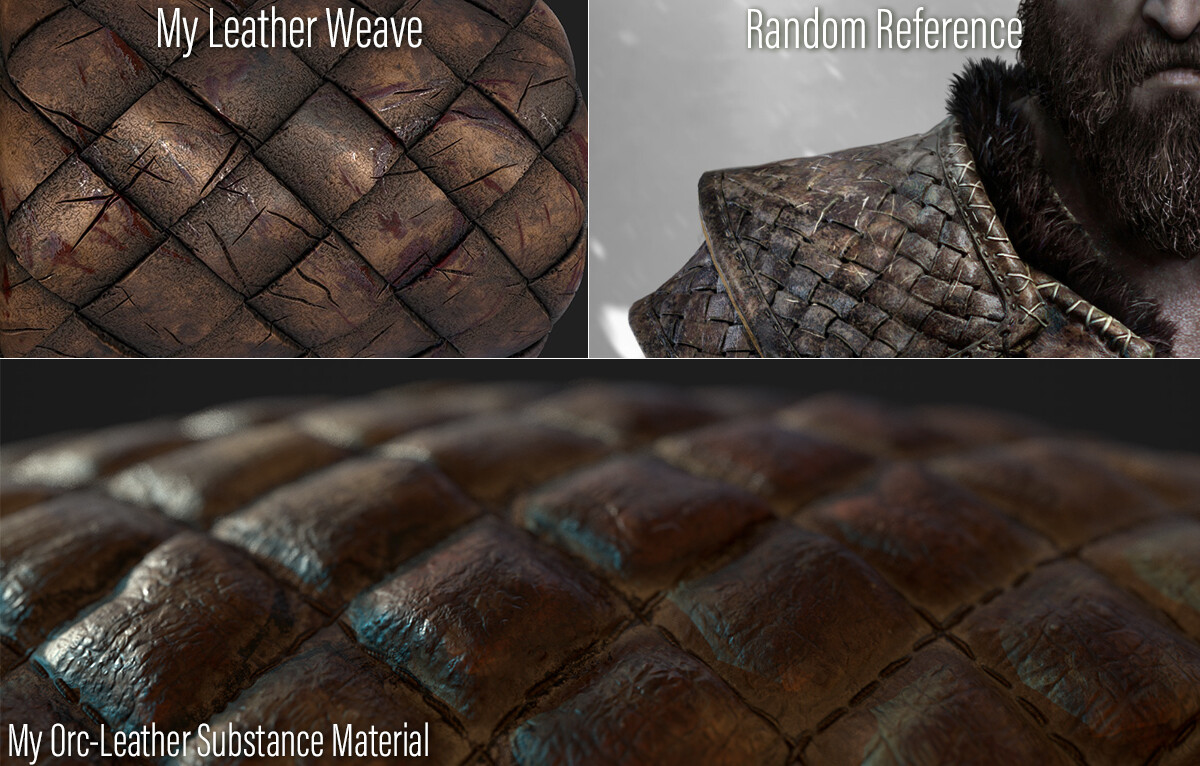
Leather Materials - BaseMaterial
Artstation Marketplace - Orc- Leather
Artstation Marketplace - Leather Weave
Review : Leather textures has many forms and uses. So many variations. I did some that I saw around and inspired me creating, and reproducing as a procedural material. Being procedural makes is easier to change an flexible enough to be used for many needs. The goal here was to make very Rough looking leather materials. The org one, is Dirty and almost gross, like roughly made from animal dry skin (that's is leather by definition right ? 🤣
=========================================================================================================
Part 02 is Coming Soon !